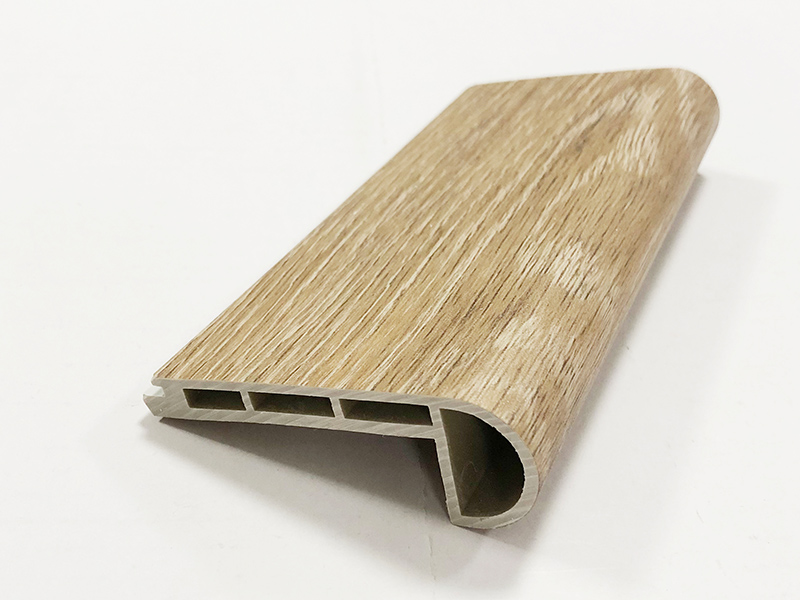
Flush Mount Stair Nose Installation Method
 Jul 22, 2020|
 View:817
Flush mount stair nose installation method
Flush mount stair preparation work
Step 1: Empty the ground→set nails and screws→remove paint→do dust treatment→use screws to fix the loose area
Step 2: Calculate the current depth of flush mount stair nose→measure the distance between the left and right sides
Measure the left and right sides → place a pencil mark → use a straight board, level, etc. to mark and scribe → use a saw to cut off the bumps → use a tool to complete the cut near the wall → remove the existing flush mount stair nose → perform dust treatment
Step 3:
If you guide the existing flush mount stair nose to the skirting board → fill the holes with wood filler → dry the wood filler and polish it → paint the skirting line (if you want to install a new primer white riser, please Paint now)
Step 4:
Many bamboo floors require two assembled boards to cover the tread and riser. Assemble the bamboo and glue them together with PVA wood glue.
Let the glue dry. This will help keep the parts together when cutting with a sliding miter saw.
Flush mount stair nose installation method
Measure the width of the stairs. The stepping tool serves as an auxiliary work. Use a saw to cut the flush mount stair nose to the appropriate width. Measure the size to ensure that the cut fits your needs. The lips of the stair nose will fall on the top of the bamboo tongue. Use urethane wood glue to glue the flush mount stair nose and correct it. You can use stainless steel nails for pre drilling and manual nailing, and finally fill the holes with wood filler.


