How to install skirting properly
 Feb 16, 2022|
 View:737
The way the skirting is installed be different and influenced by the owner's preferences, different environments and the skirting materials. We do our best to explain how to install it, but please note that the following is only used as a general guideline and professionals should be sent if necessary.
Tools needed: Caulk gun, Miter saw, Screw gun
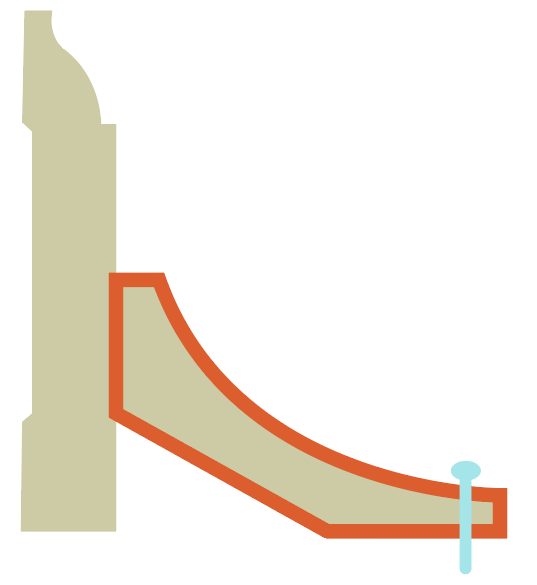
After cutting the skirting to length. Glue the skirting tightly to the wall. To make sure they bond well for a long time, some help might be used like below:

Leave it over night to make it set and remove the supporting piece.
Get internal corner done
1. Keep 2 skirting boards vertical to each other just like what they’ll be done. On the 2nd one, you'll cut a 45º angle along the side edge that will eventually fit the other piece. You can use a mitre saw to do this if you have any. Otherwise, mark the angle using your bevel and cut it with your hand saw.
2. Once you have a nice 45º angle on your skirting board, use your carpenter pencil and highlight the board's profile. That angled surface is the section you'll cut to follow the other piece's shape.
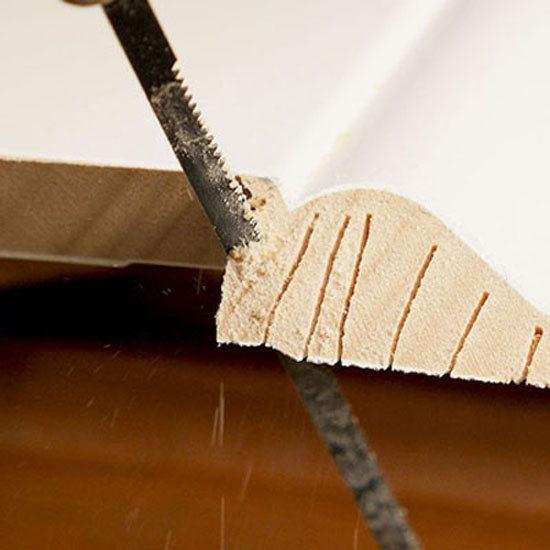
3. Now grab your hand saw and cut the angled surface creating a slight back cut -this will compensate any off gradient on your walls. Pay attention not to cut the whole height yet, stop where the curves on the profile begin.
The level of detail of the next step will depend on how intricate the design of your skirting boards' profile is. If you just have a chamfered board, it will be easier to create the scribe joint than if you have an art decó one. In most cases though, you'll need to use a coping saw.
4. As explained above, switch your coping saw as you cut the top edge of the board, following the marked profile. You'll also have to back cut it a bit as that combination of angles is going to give the skirting board its final shape. If you prefer, turn the blade of your coping saw so the teeth are facing up and backwards.
5. Once you've finished cutting, use a bit of sandpaper if you wish to give the edge a smooth finish.

Get external corner done
It’s comparatively easier to make a nice skirting finish on external corners, but just make sure you get some test pieces ready just in case the angle is not correct at first.
1. Cut 45-degree miters on the ends of 10-inch-long base scraps.
2. Put them together at the corner to check the fit.

Achieve a perfect split
When two pieces of skirting board have to be connected in the middle of wall, there is a better angle connecting method than a conspicuous slit. It helps to hold the two pieces flush, gives the joint a large surface area to glue together and they can also be fixed (pinned) to one another. If you cut them square, they are very difficult to line up and keep flush
1. Cut the first trim board about 1 inch short of a stud with a degree bevel (usually 30 degree).
2. Cut the second board with the same degree bevel but in the opposite direction.
3. Smear glue on both angled surface and push them together and nail down the shared part. The glue residue should be removed as soon as possible.


